Bee Garden Scrapbook Page Idea with Daisy Paper & a Bee Tag
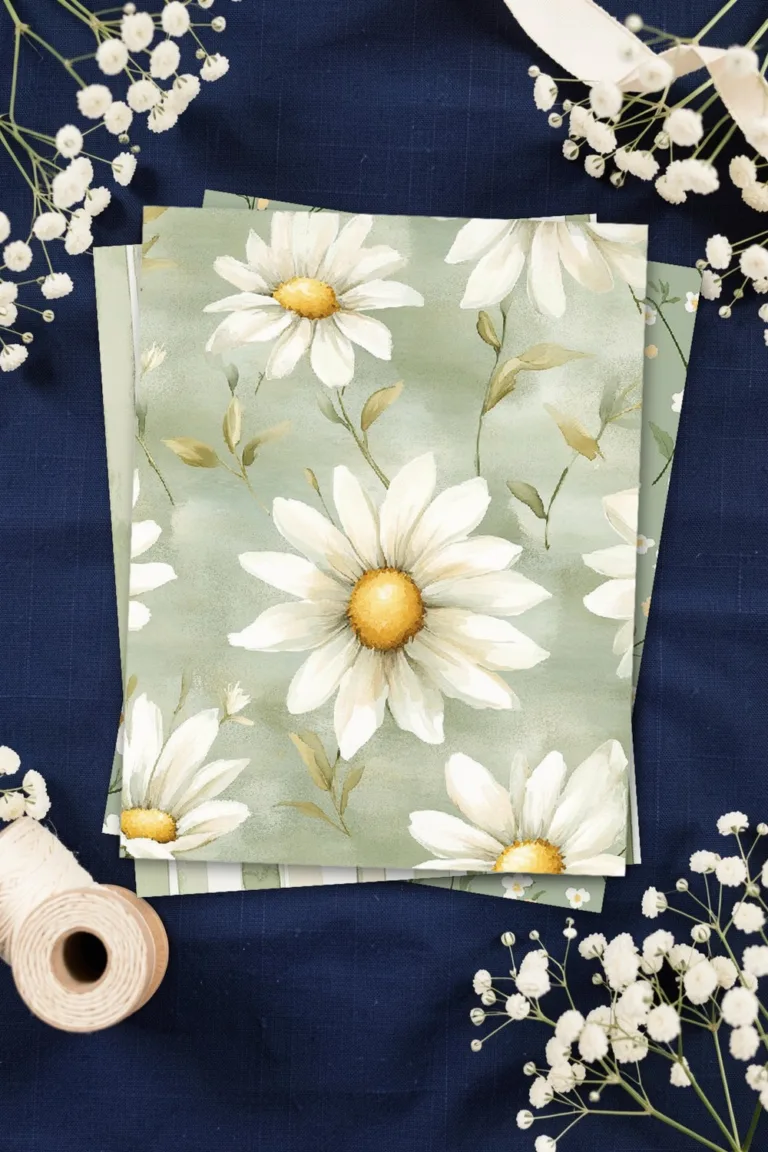
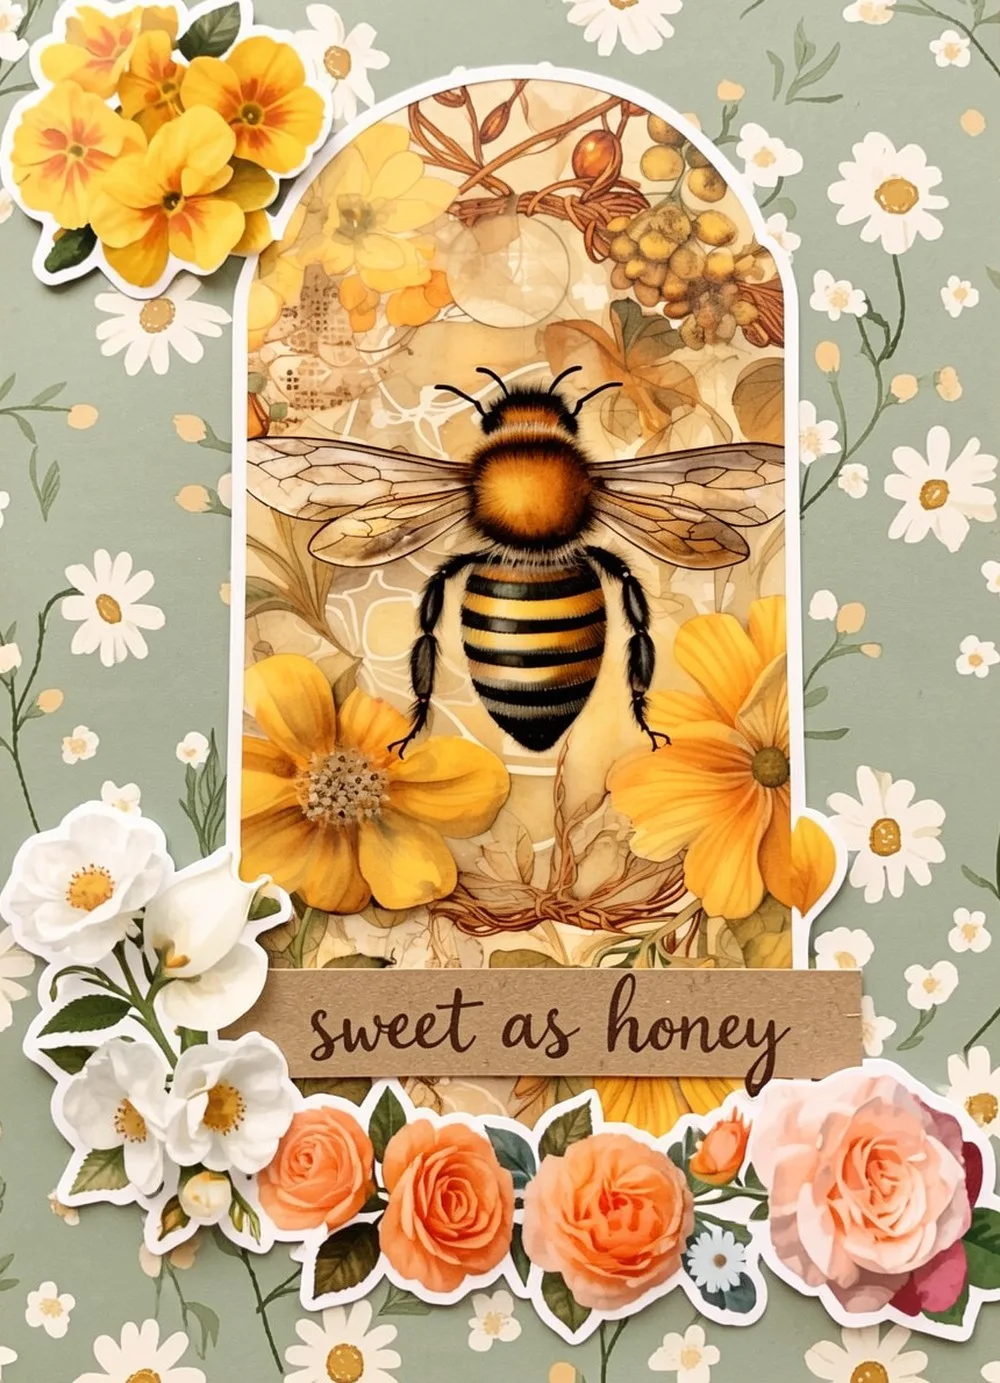
One patterned sheet, one big tag and a handful of flowers are enough for a whole page. This layout keeps to sage green, honey yellow and cream, so the bee stays the first thing you see.
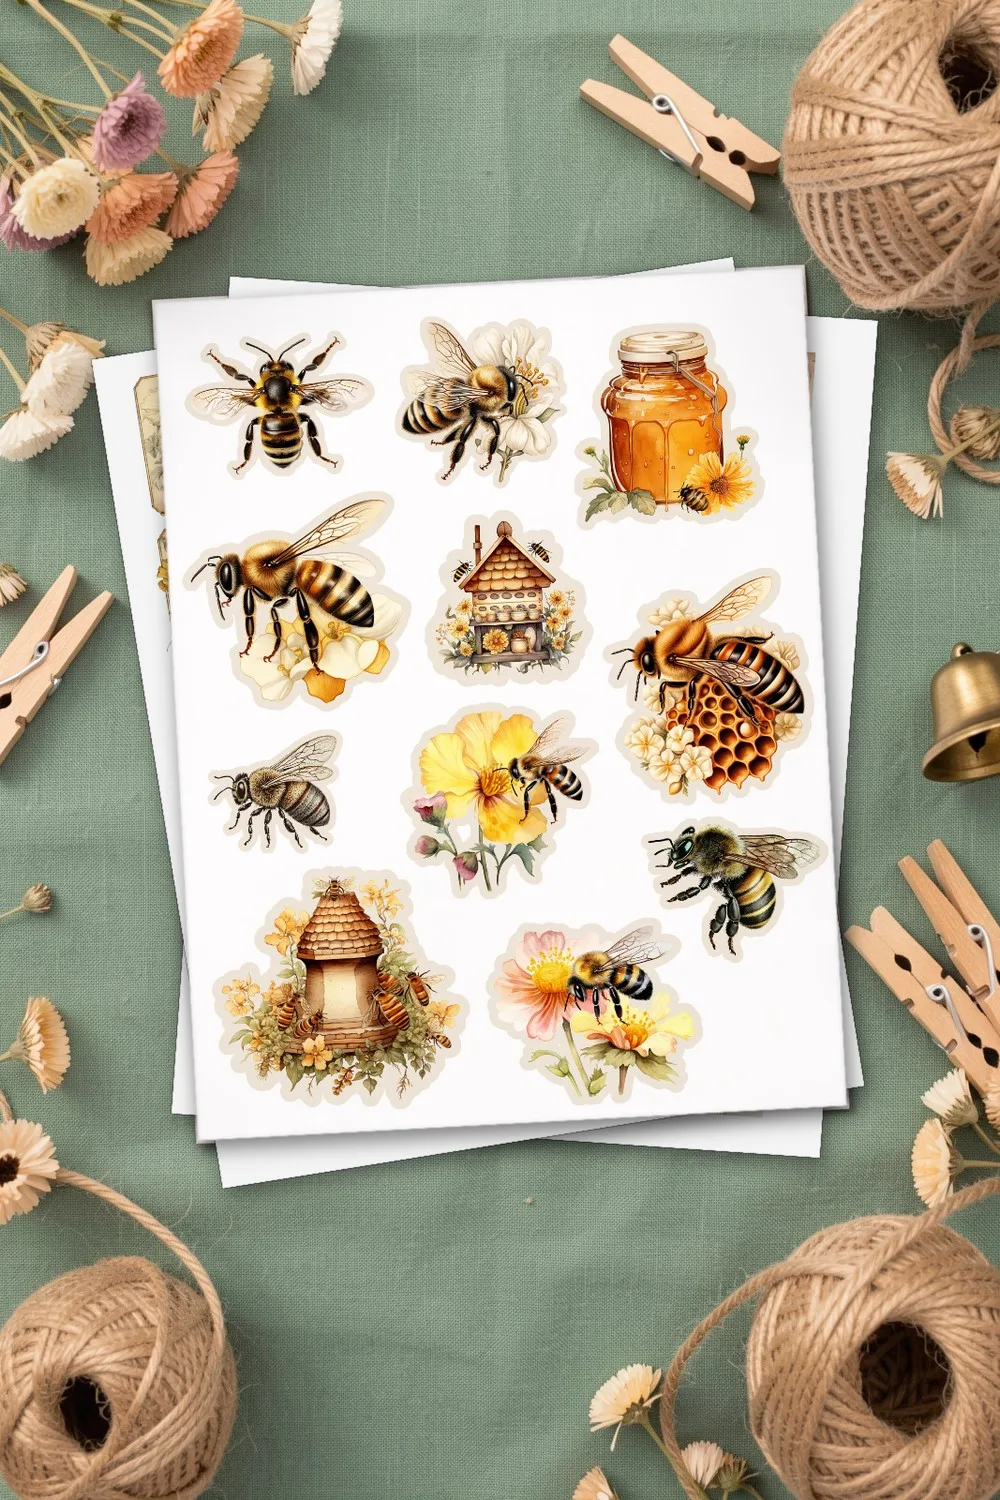
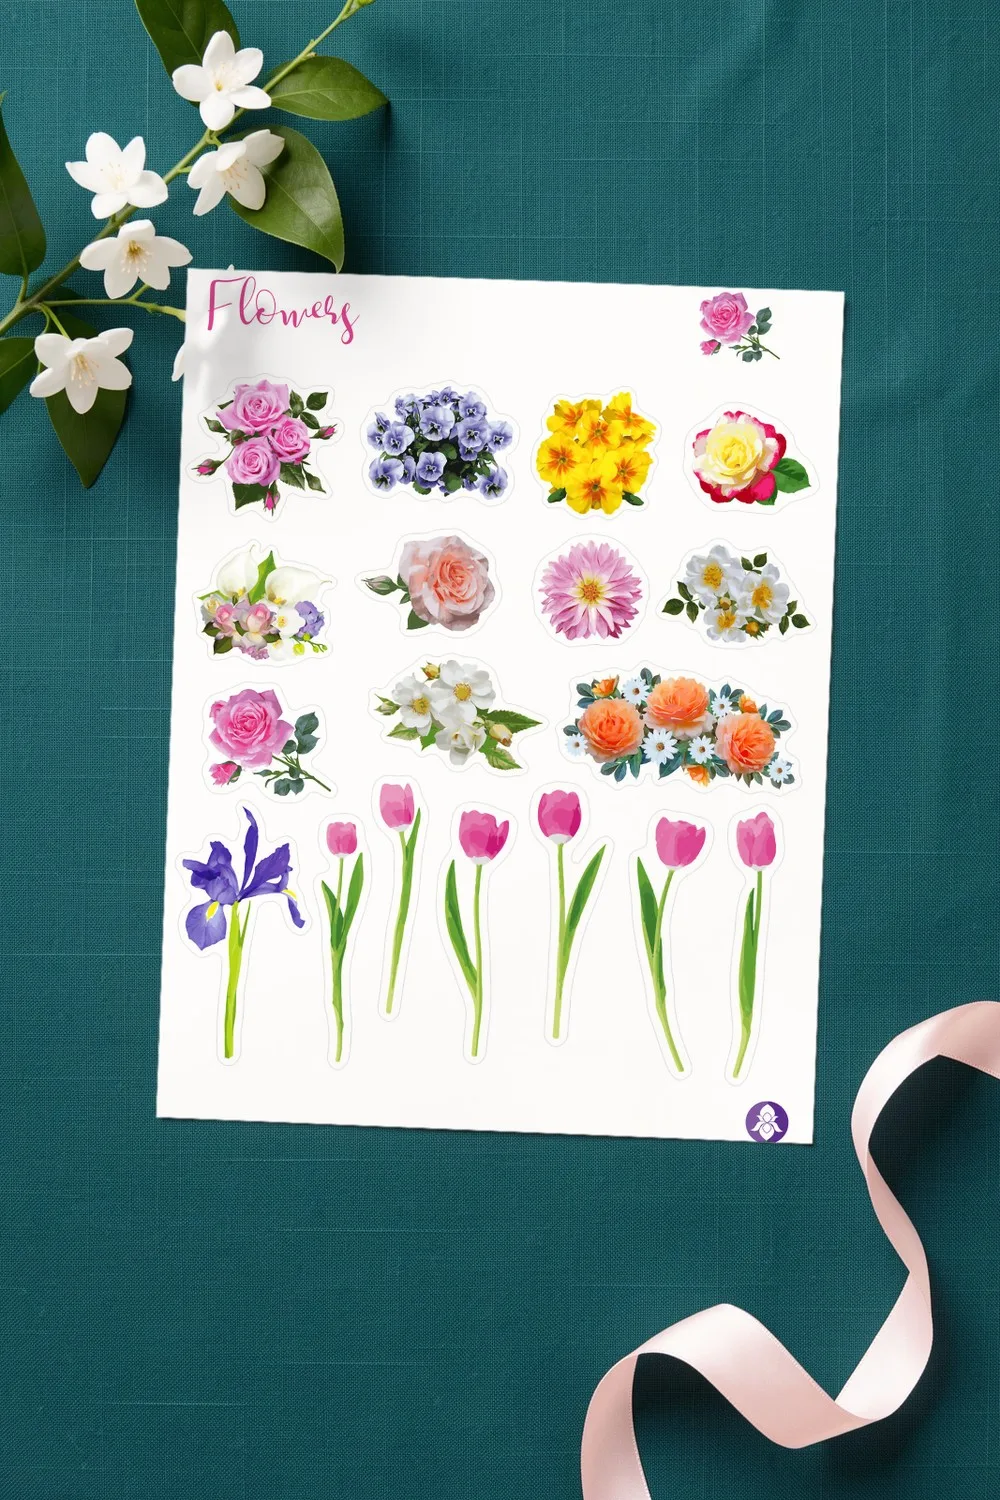
Quick answer: this bee garden scrapbook page uses three printables: a sage green daisy paper for the background, a large arched bee tag for the centre and a sheet of flower stickers for the corners. Print them at home, glue the tag in the middle, tuck the flowers around its edges and add one short handwritten line.
The three printables on this page
Each set has its own page here with every sheet shown, the colour palette and the print sizes. The files themselves are on the designers’ pages at Creative Fabrica.
How to put the page together
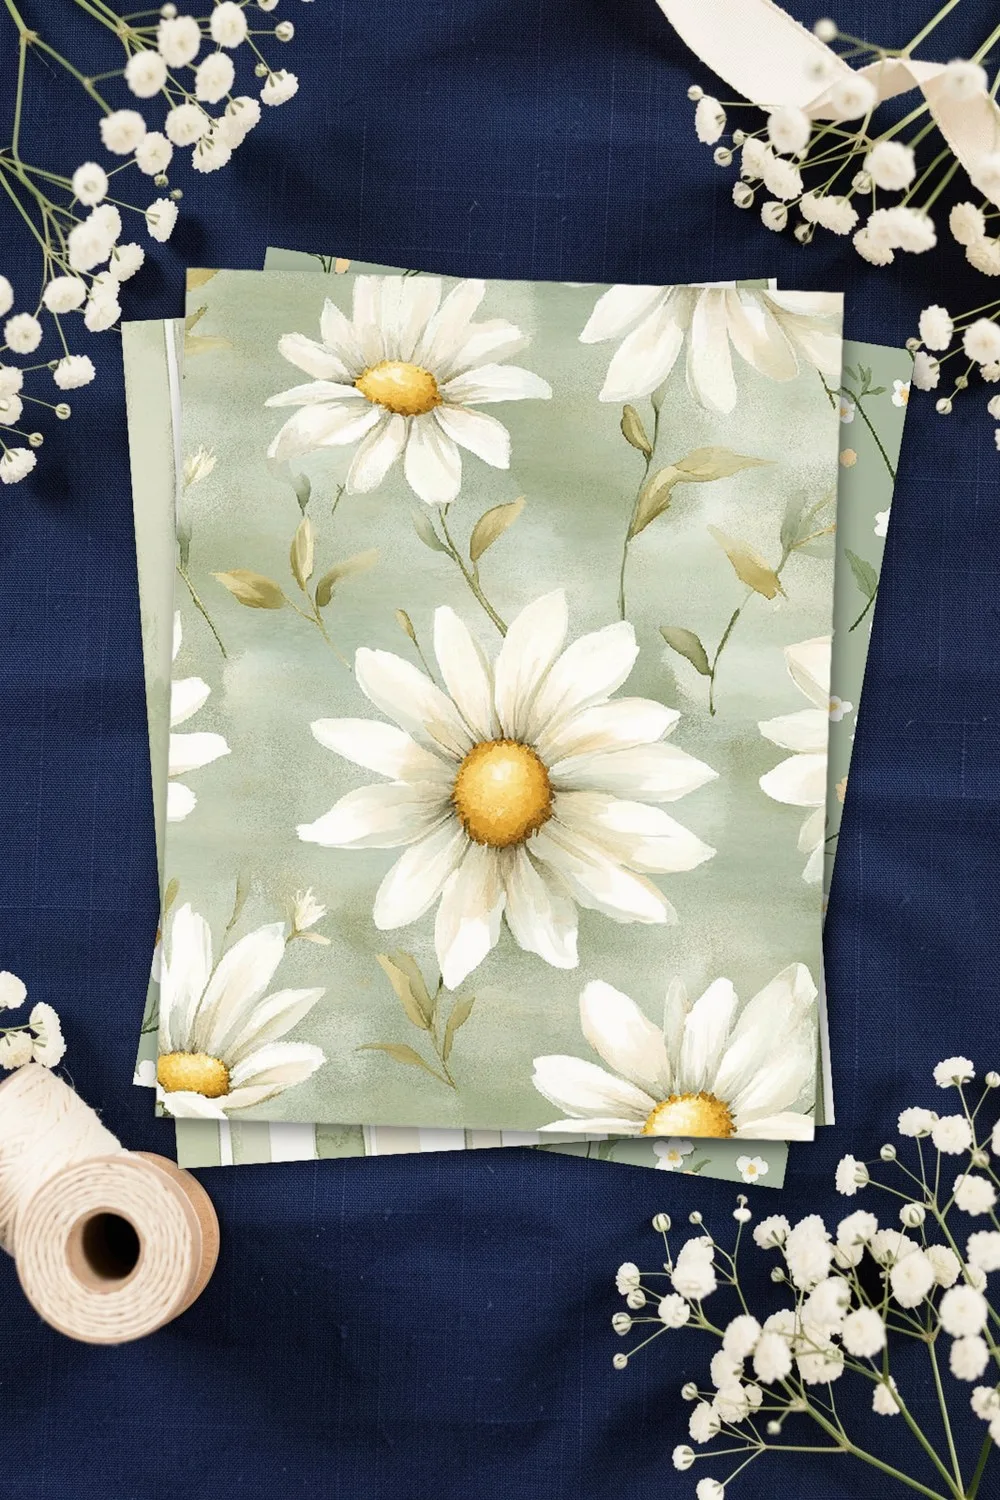
- Print the background. The daisy paper is a 12 × 12 inch square. On A4 or Letter it prints as a square about 8 inches wide, which is enough for a page of an A5 or 8 × 8 album. Trim it to your page.
- Print and cut the tag. Choose the tall arched tag with the bee from the kit’s tag page and cut along its outline. If it looks small against your page, print that sheet again at a larger scale.
- Glue the tag first. Put it in the middle, a little above centre, straight onto the patterned paper. No mat is needed: the golden tag already stands out against the green.
- Add the flowers. Cut five or six flowers from the sticker sheet. Tuck yellow ones behind the top corner of the tag and let a row of roses overlap its bottom edge, so the tag looks planted rather than placed.
- Write one line. A strip of kraft or cream paper across the lower part of the tag holds a date, a name or a short phrase. On the mock-up it says “sweet as honey”.
Make it your own
- Swap the bee tag for a photo of the same height: the daisy paper and the flowers frame it the same way.
- Turn the tag into a pocket. Glue only its sides and bottom edge, then slide a note or a seed packet behind it. The Template Maker draws a pocket in your size.
- Short of time? Print the sticker sheet on plain paper and cut the flowers with a narrow white border. They sit just as well as adhesive ones once glued.
More page ideas
The printable sets on this page are made by independent designers and hosted on Creative Fabrica. Downloading is free with their free trial: a payment card is needed to start it, and you can cancel the subscription at any time. Each set has its own page here with every sheet shown before you download.
PNG DIY may earn a commission when you sign up with Creative Fabrica through the links on our pages, at no cost to you. See our affiliate disclosure.