Merry and Bright Christmas Scrapbook Page Idea in Red Gingham
Red gingham does most of the work on a Christmas page: it reads as festive from across the room and still leaves the centre free. Add one big tag and a few labels and the page is done.
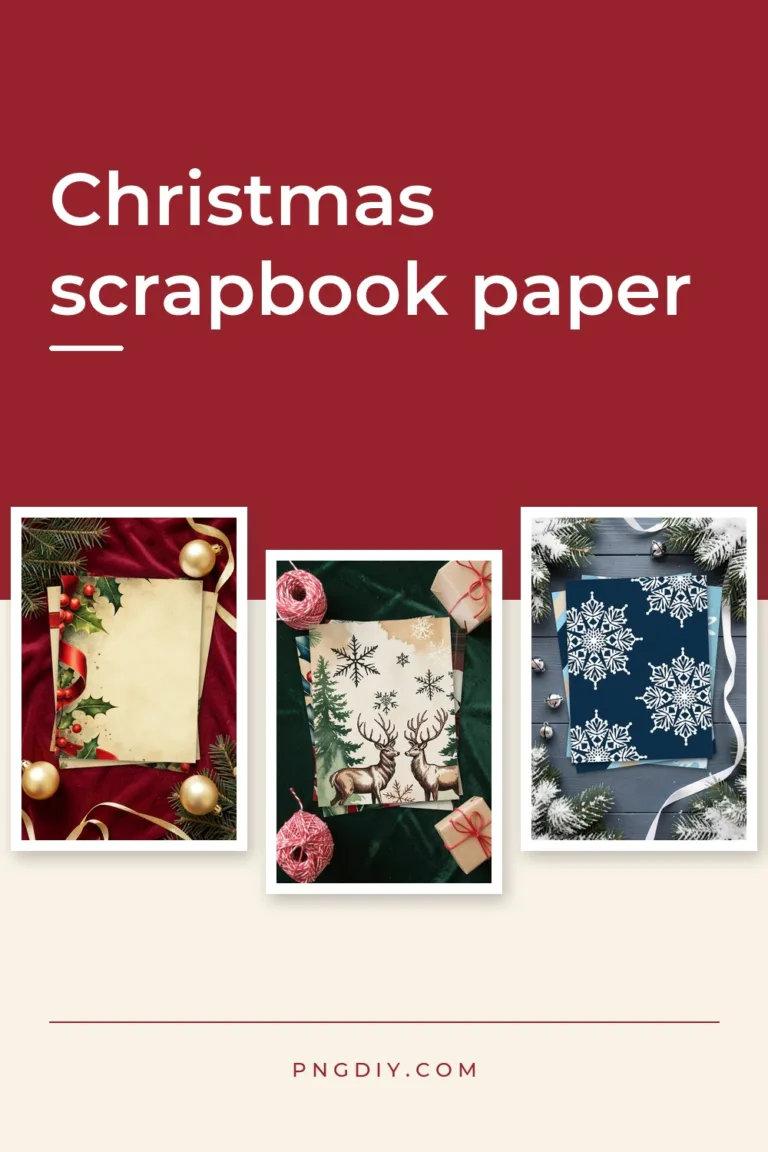
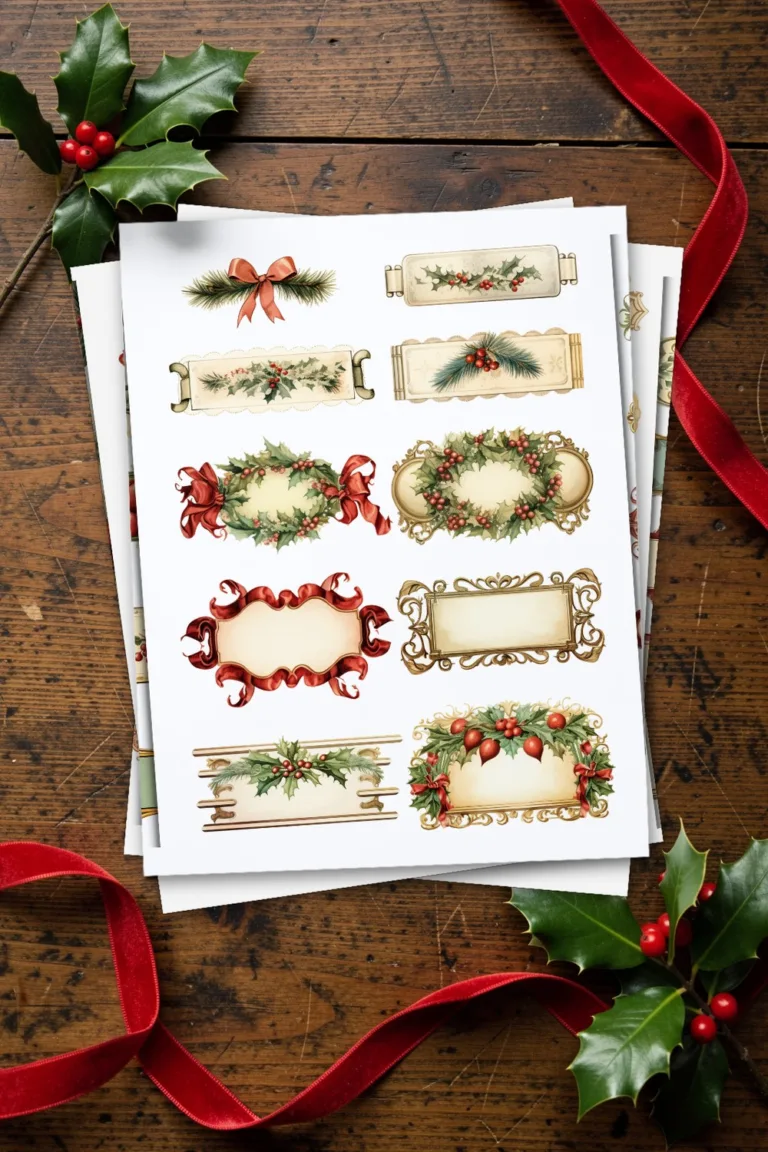
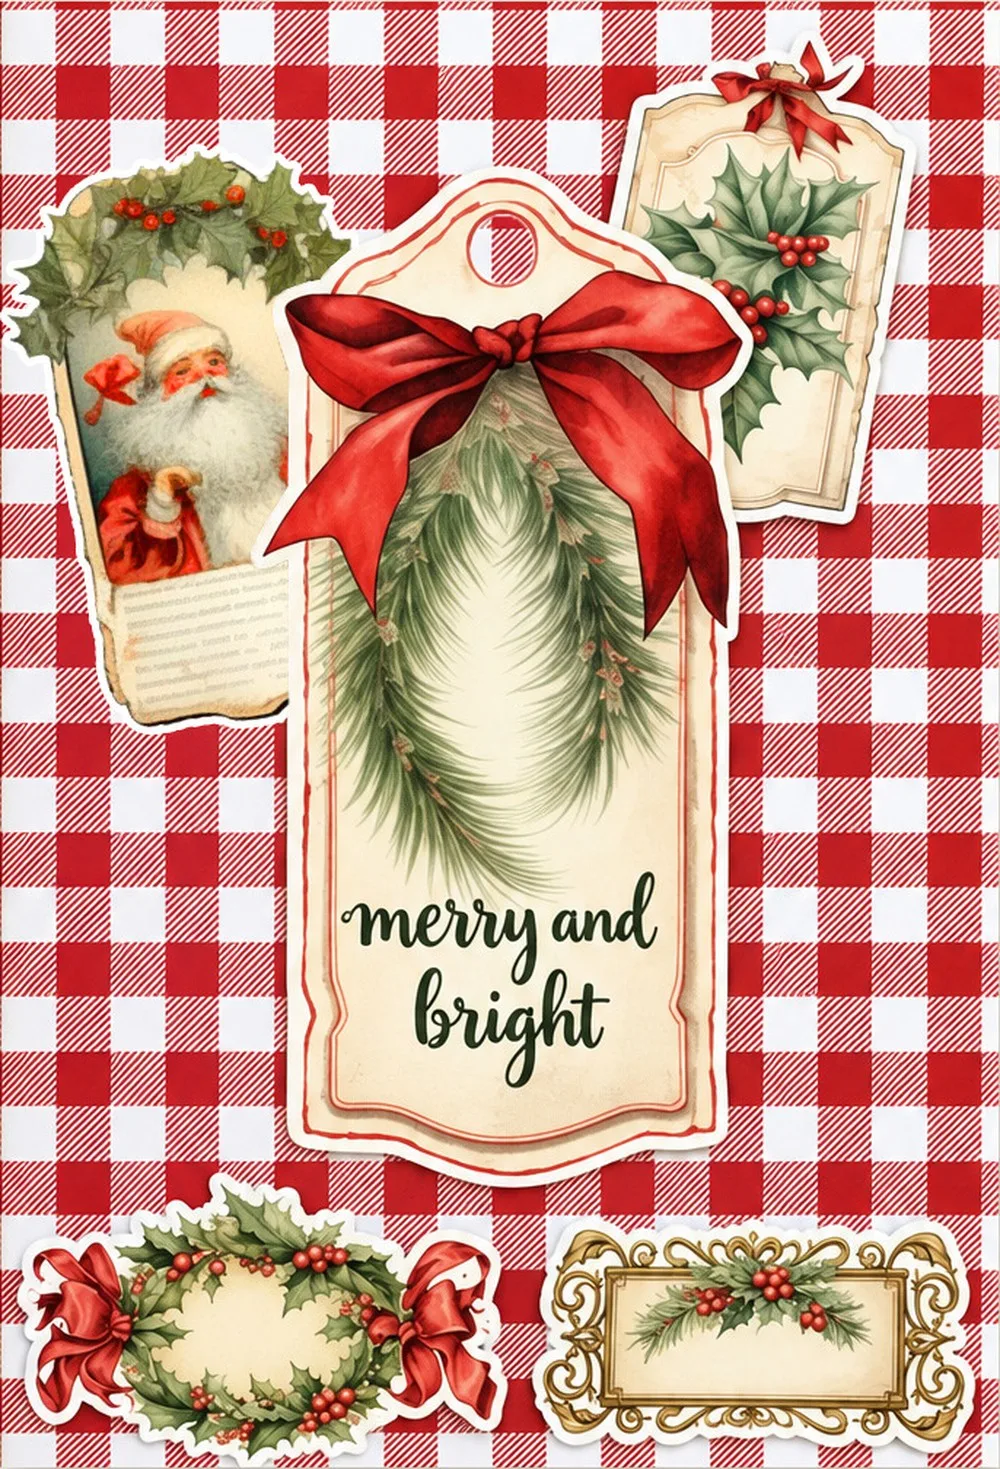
Quick answer: this Christmas scrapbook page uses three printables: a red and white gingham paper for the background, a large gift tag with a red bow for the centre and small holly labels around it. Print them at home, glue the tag in the middle, tuck two smaller tags behind it and write your greeting on the tag.
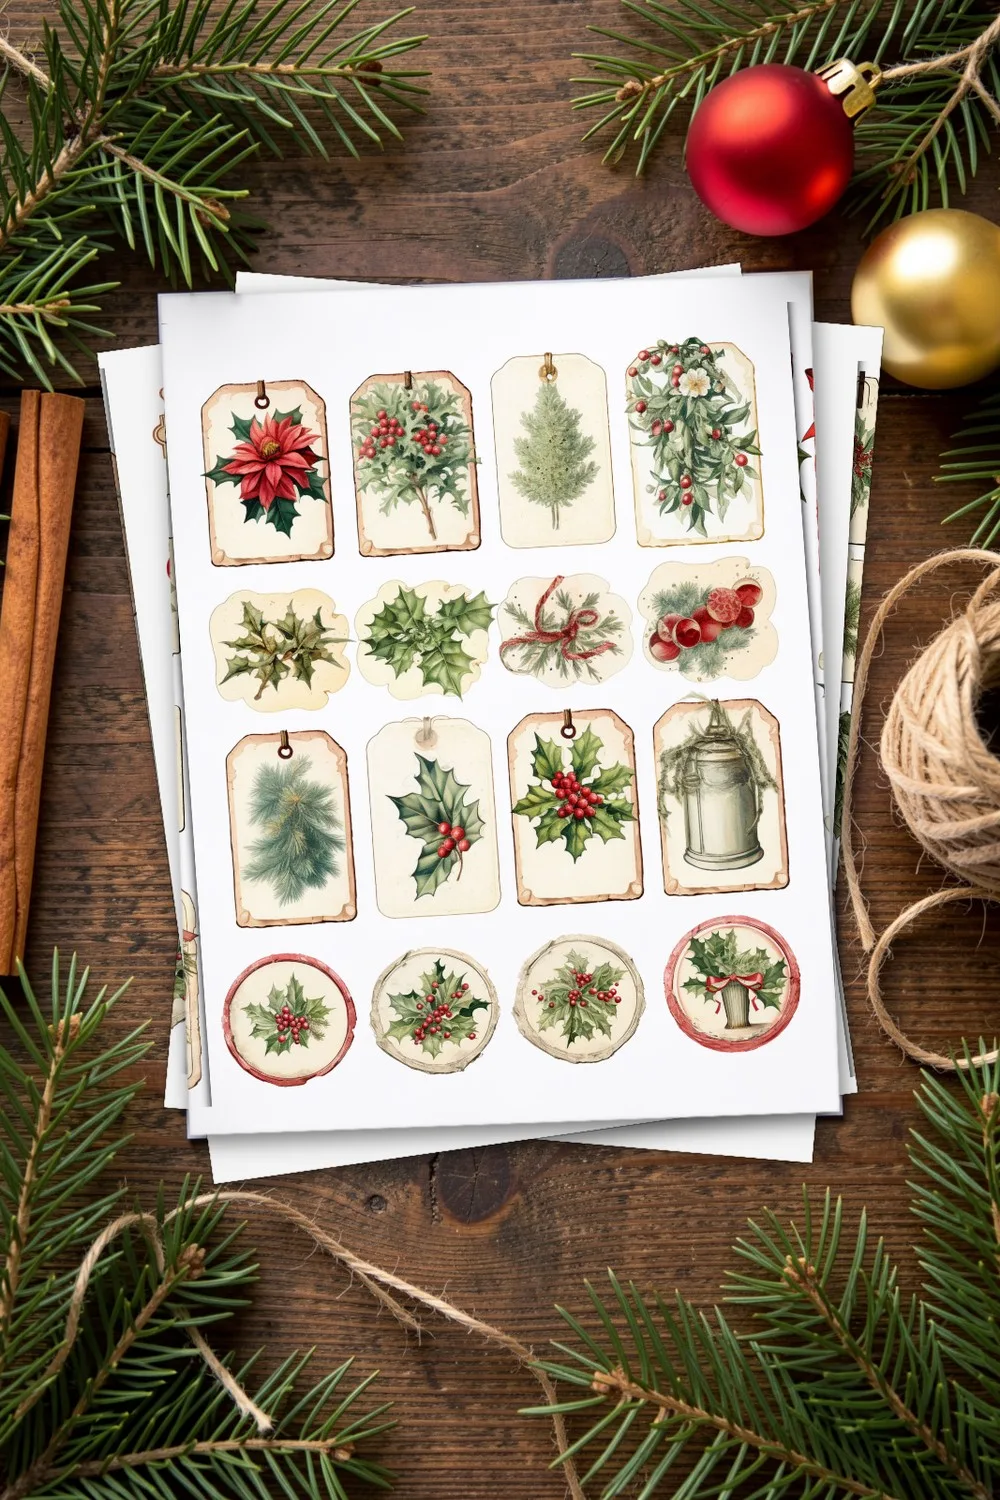
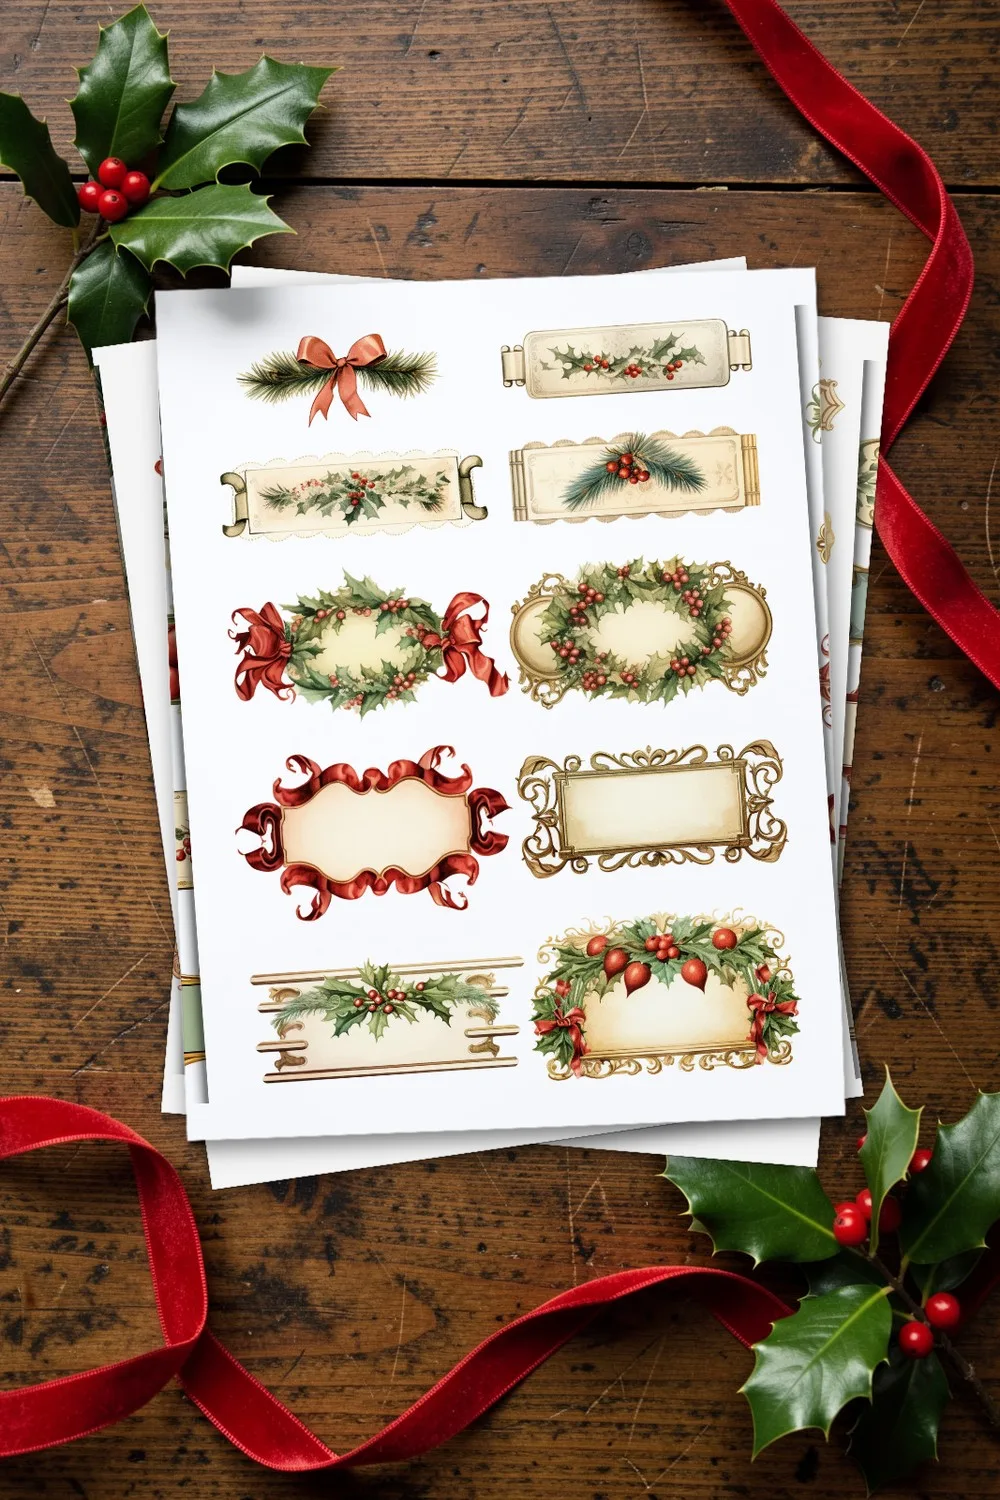
The three printables on this page
Each set has its own page here with every sheet shown, the colour palette and the print sizes. The files themselves are on the designers’ pages at Creative Fabrica.
How to put the page together
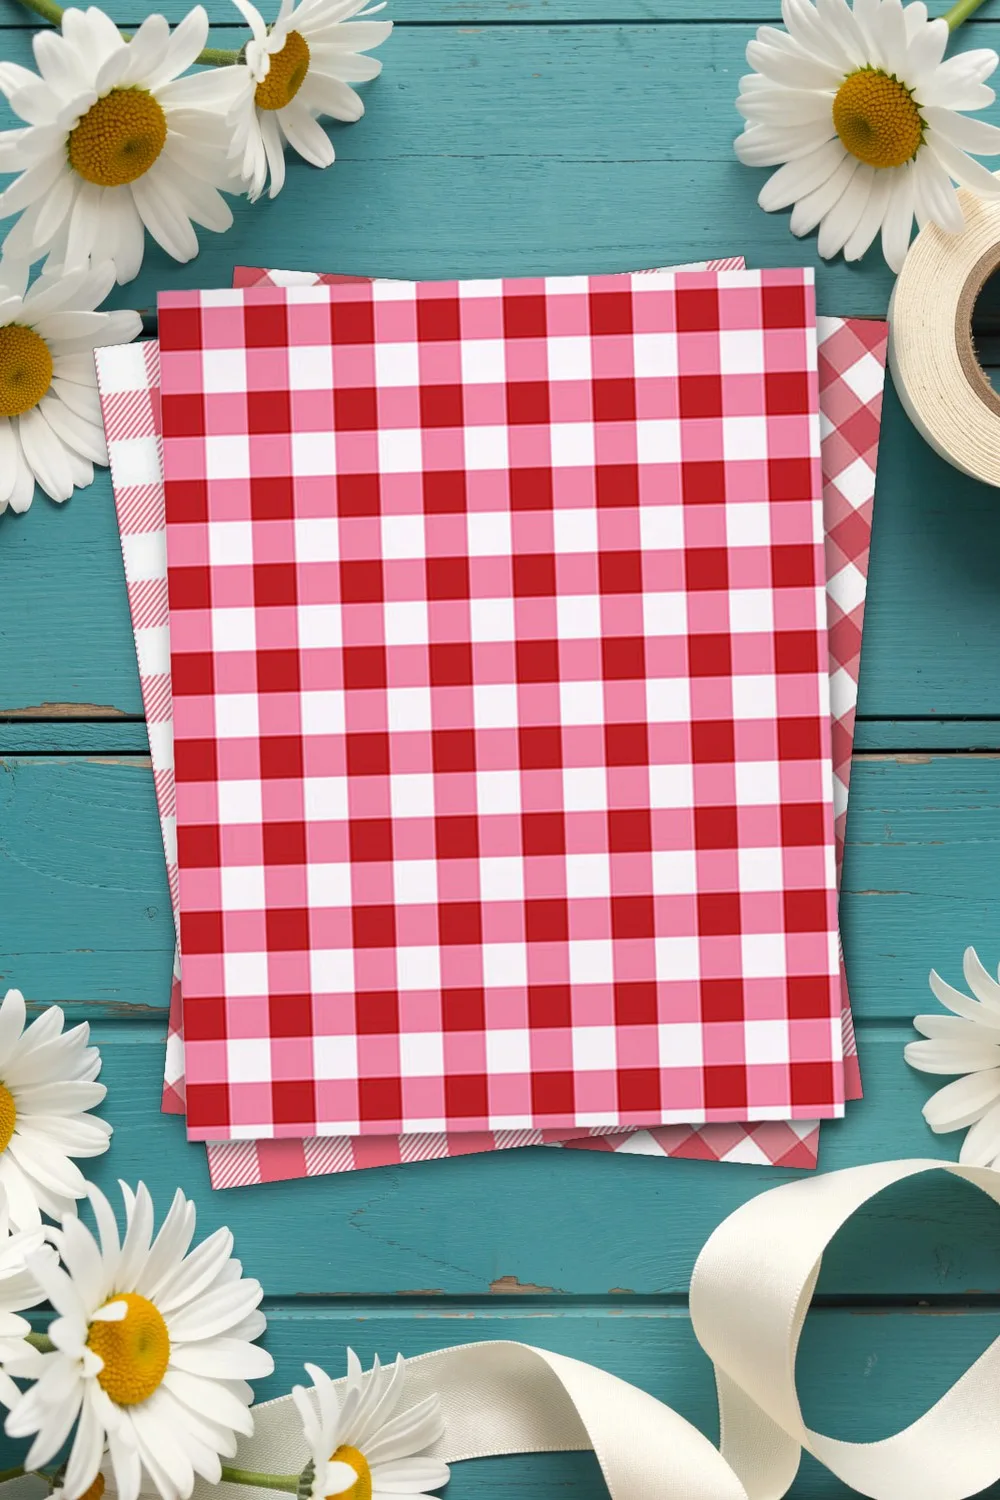
- Print the background. The gingham is a 12 × 12 inch square. On A4 or Letter it prints as a square about 8 inches wide; trim it to your page and keep the lines of the check parallel to the edges.
- Cut the tags. From the tag page cut the tall tag with the bow, one Santa tag and one holly tag. Leave a narrow cream border around each so they stand out on the red.
- Layer from the back. Glue the Santa tag and the holly tag first, tilted, where the corners of the big tag will cover them. Then glue the bow tag on top, upright.
- Add two labels. Put a wreath label and a framed label along the bottom. Their empty centres are for a name and a date.
- Write the greeting. The pine wreath on the big tag leaves a cream space in the middle. On the mock-up it says “merry and bright”.
Make it your own
- Use the page as a card front: fold a sheet of cream cardstock and glue the trimmed layout to it.
- Swap the big tag for a family photo of the same height and keep the two labels below for names.
- For a pocket page, glue the big tag only along its sides and bottom and slide a gift card or a note behind it. The Template Maker draws an envelope in your size.
More page ideas
The printable sets on this page are made by independent designers and hosted on Creative Fabrica. Downloading is free with their free trial: a payment card is needed to start it, and you can cancel the subscription at any time. Each set has its own page here with every sheet shown before you download.
PNG DIY may earn a commission when you sign up with Creative Fabrica through the links on our pages, at no cost to you. See our affiliate disclosure.