Forest Junk Journal Kit Craft Supplies
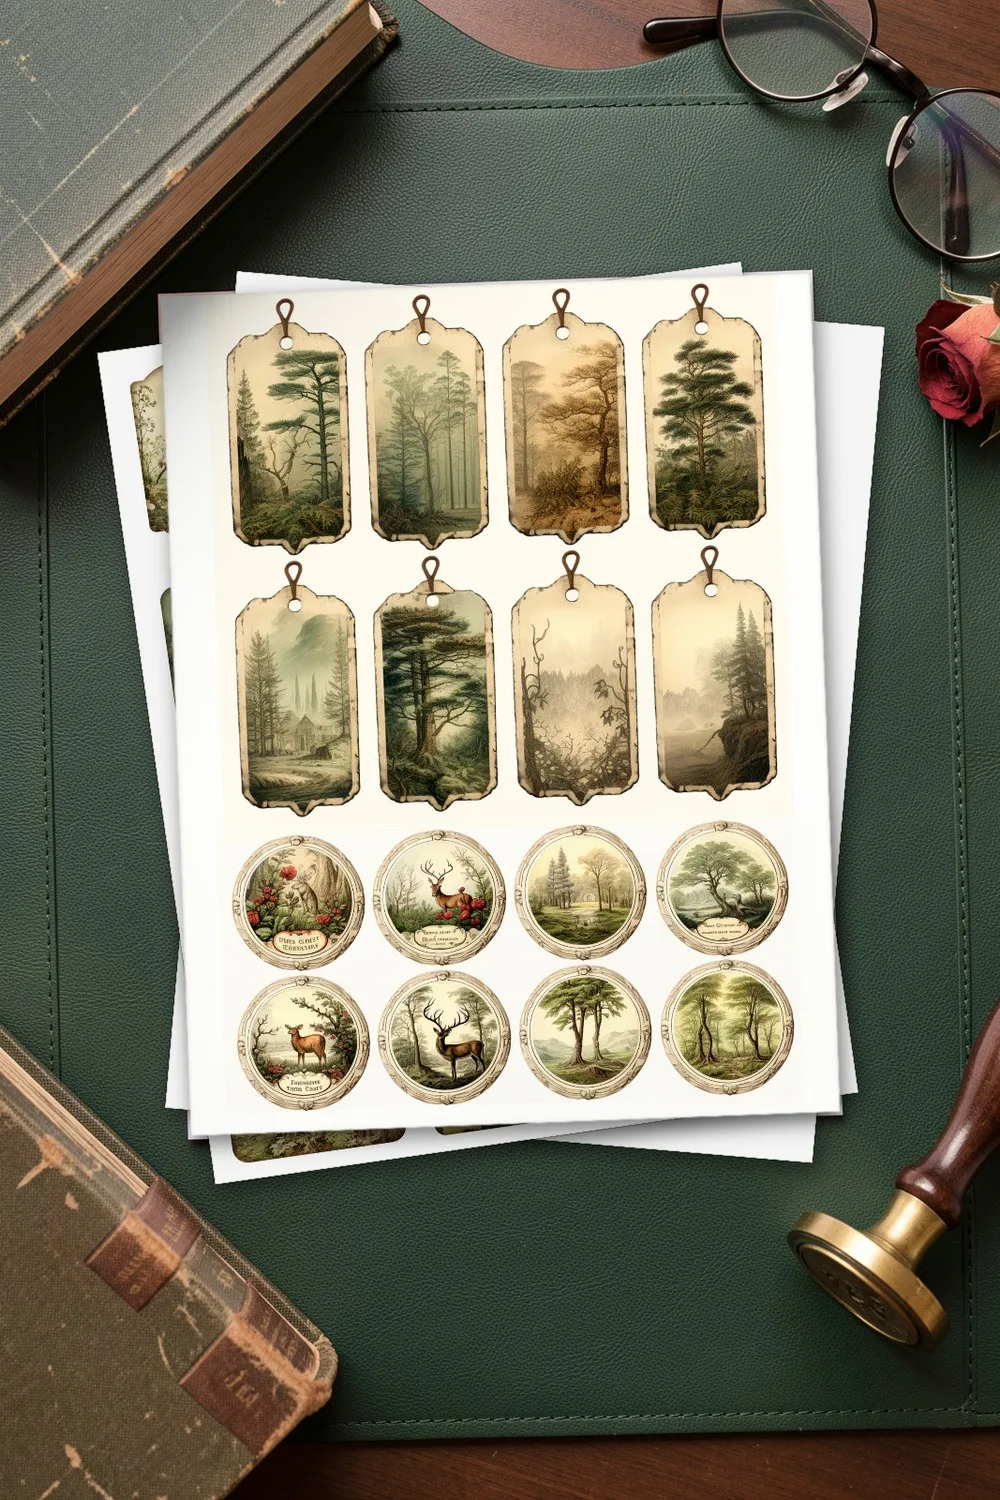
A forest junk journal kit of 12 printable pages: tags, cards, labels, pockets and envelopes with misty trees, deer, birds, ferns and mushrooms in moss green and warm brown.
- In the kit
- 12 printable pages
- Page size
- Letter, 8.5 × 11 in
- Resolution
- 300 DPI
- Files
- JPG
- License
- Commercial license included
The files are hosted on Creative Fabrica. Downloading is free with their free trial: a payment card is needed to start it, and you can cancel the subscription at any time.
Design by Wildflower Publishing.
What is in the kit
The designer describes it as everything needed for a nature journal that captures the woods: tags, cards, labels, pockets and envelopes with woodland motifs. Several pages are flat patterns that fold into a large envelope, a pocket envelope, a round envelope with four flaps and pockets with glue tabs. Others carry tags with pine trees, round stickers with deer, small cards with forest paths, and labels with words such as “Forest”, “Nature” and “Peace”.
The 12 pages come as JPG files in zipped folders, Letter size at 300 DPI.
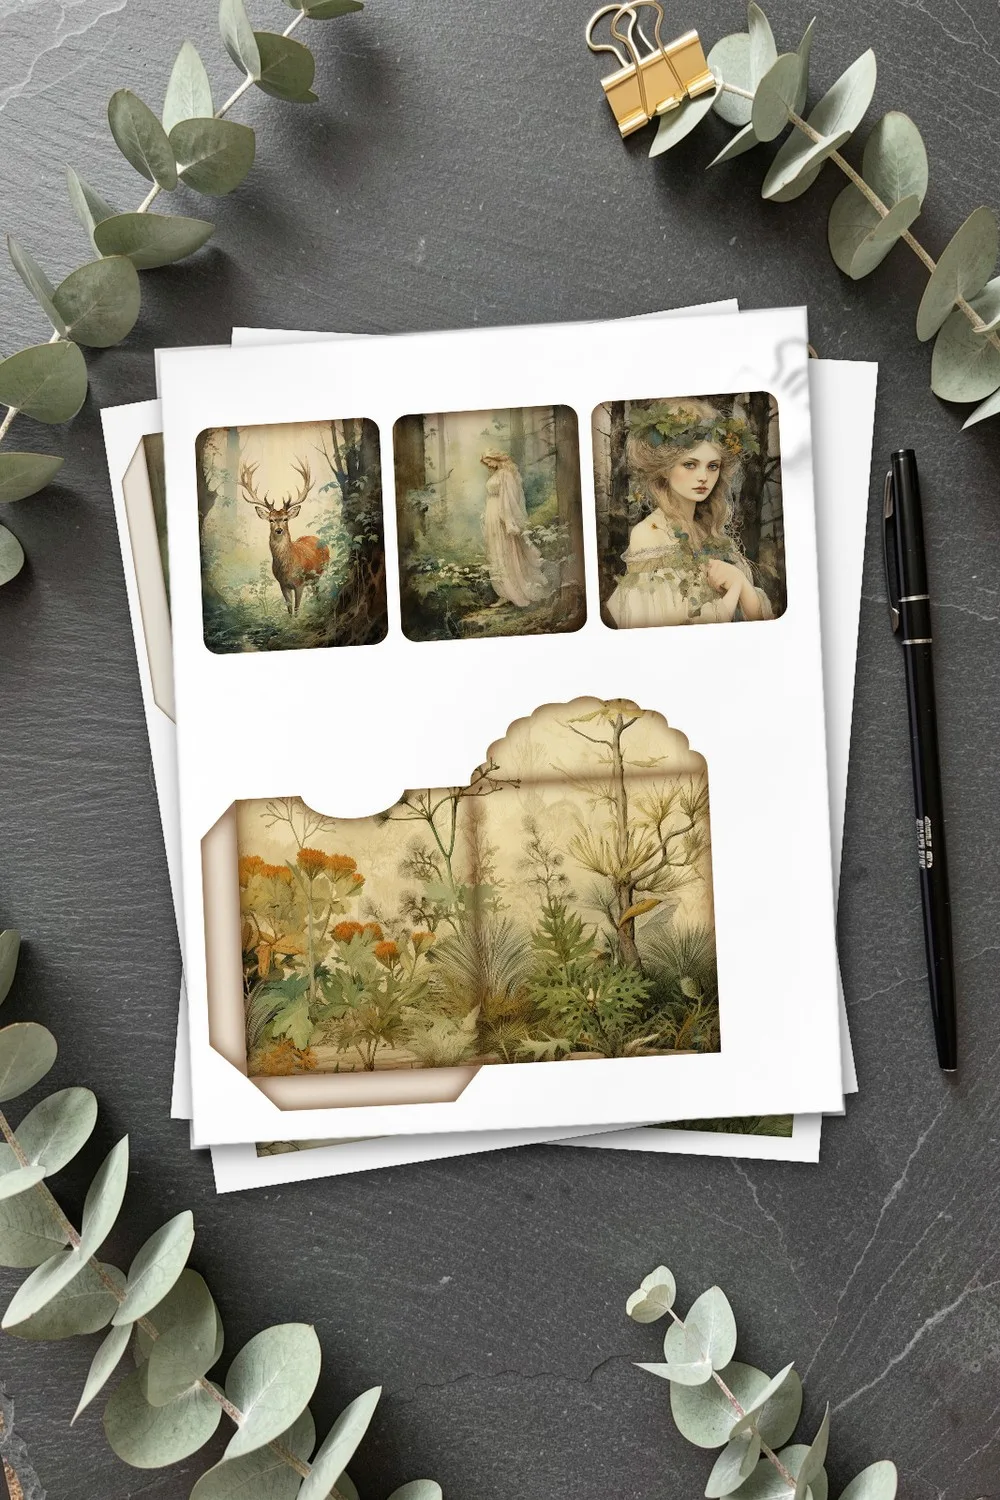
The pages of the kit
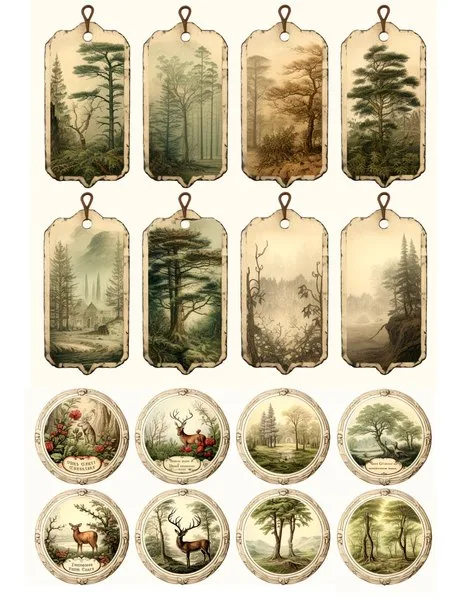
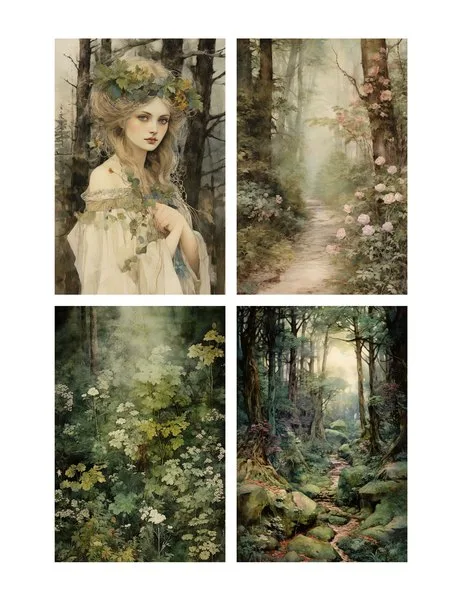
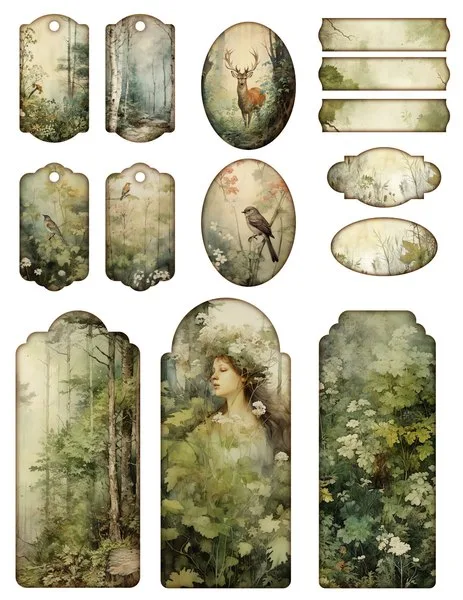
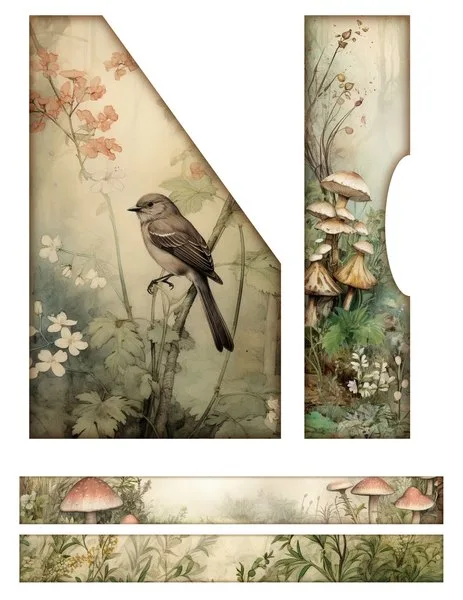
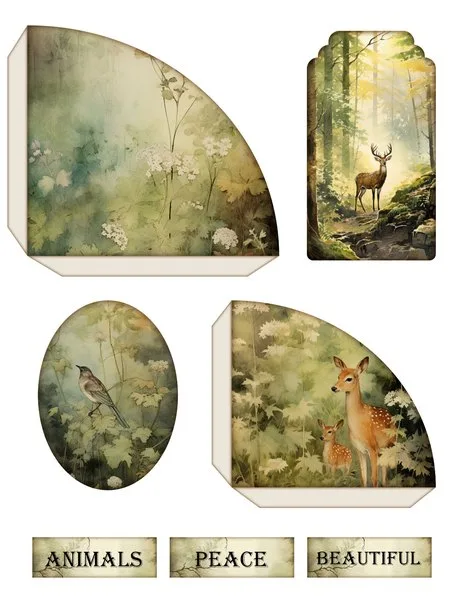
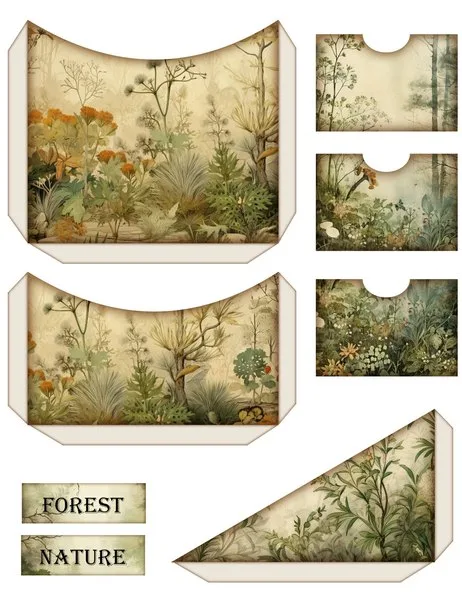
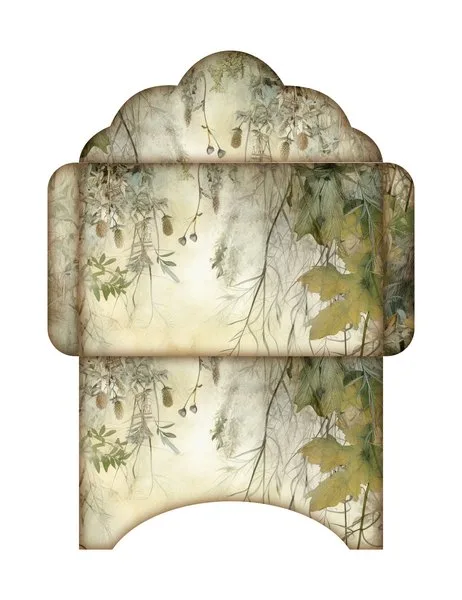
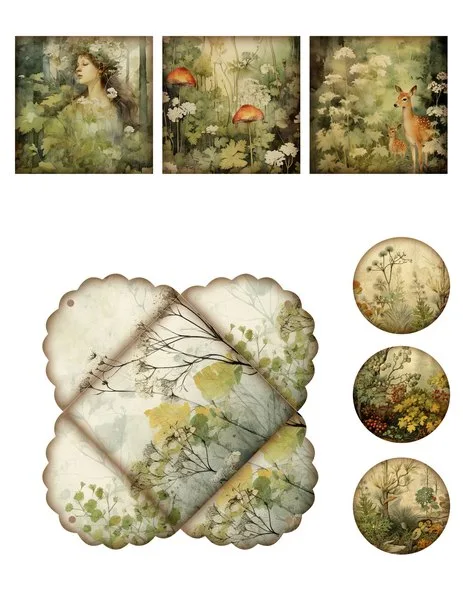
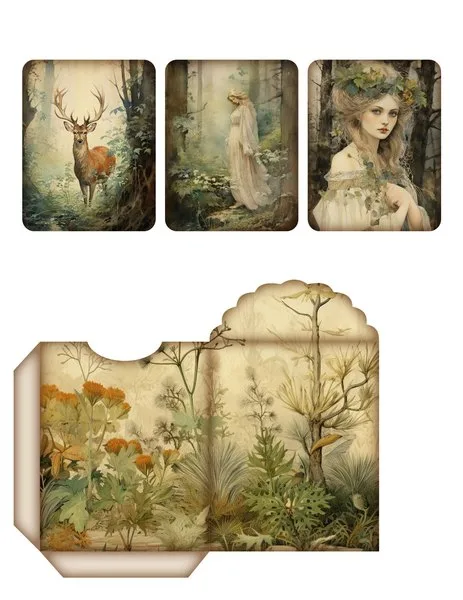
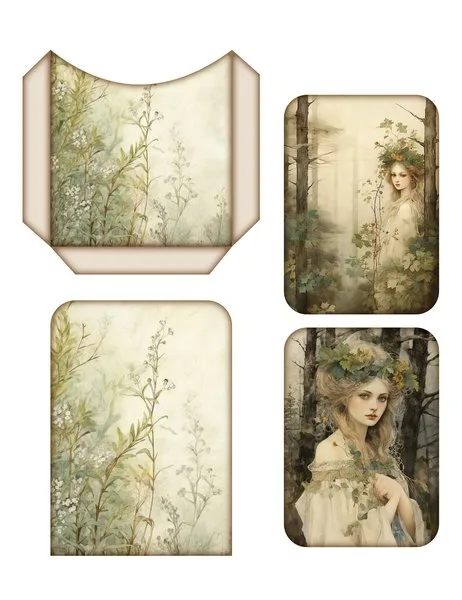
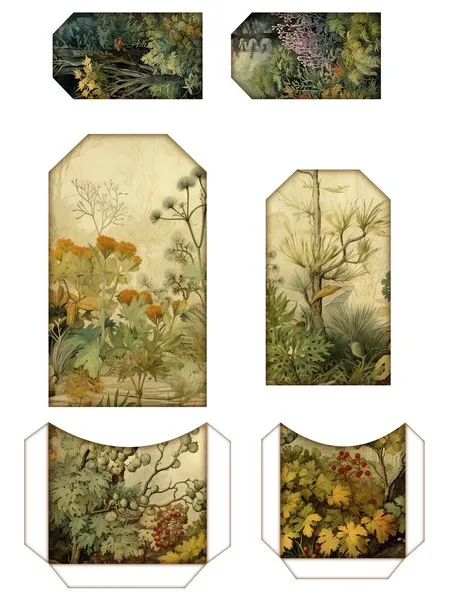
The gallery shows 11 of the 12 pages. The pockets and envelopes are printed flat, with the fold lines and glue tabs in place.
Ideas for using the kit
- A nature or hiking journal. Pockets for pressed leaves, tags for the date and the place.
- Autumn and winter pages. Green and brown sit well with both seasons.
- Camping and travel scrapbooks. A forest card next to photos of the trip.
- Gift tags. Tree tags on kraft paper wrapping.
- Bookmarks. The tall tags and strips are the right shape.
Colour palette of the kit
- White
#FFFFFF - Olive
#A29363 - Beige
#DAC7A1 - Olive 2
#6B6841 - Beige 2
#E6DDC3 - Dark olive
#4E4C34 - Beige 3
#C1B08D - Black
#1D1E12
The colours are sampled from the preview images of the designer. Screens and printers show them a little differently, so treat the codes as a starting point for matching cardstock, ink or digital elements.
How the pages print at home
Every page is Letter size, 8 1/2 × 11 in (21.6 × 27.9 cm), so it fills one sheet of paper.
| Paper | Setting | What you get |
|---|---|---|
| Letter | 100% (“Actual size”) | Every piece at the size the designer drew it |
| A4 | “Fit to page” | The whole page at about 97%: A4 is a little narrower than Letter, so at 100% the side edges would be cut off |
Most home printers leave a white margin of a few millimetres. If a piece sits right at the edge of the page, choose “Fit to page” on Letter paper as well.
Printing tips
- Open the page in any image viewer and choose Print, one page per sheet.
- Print tags, cards and labels on matte cardstock so they keep their shape; print envelopes and pockets on ordinary paper, which folds without cracking.
- Select the same paper type in the printer settings and set print quality to “Best” or “High”.
- Print one page first, then cut the pieces out with scissors or a craft knife and a ruler.
Colours may look a little different on paper than on screen: that depends on the printer and the paper.
More junk journal printables
PNG DIY may earn a commission when you sign up with Creative Fabrica through the link on this page, at no cost to you. See our affiliate disclosure.